
Email format error
Email cannot be empty
Email already exists
6-20 characters(letters plus numbers only)
The password is inconsistent
Email format error
Email cannot be empty
Email does not exist
6-20 characters(letters plus numbers only)
The password is inconsistent


News
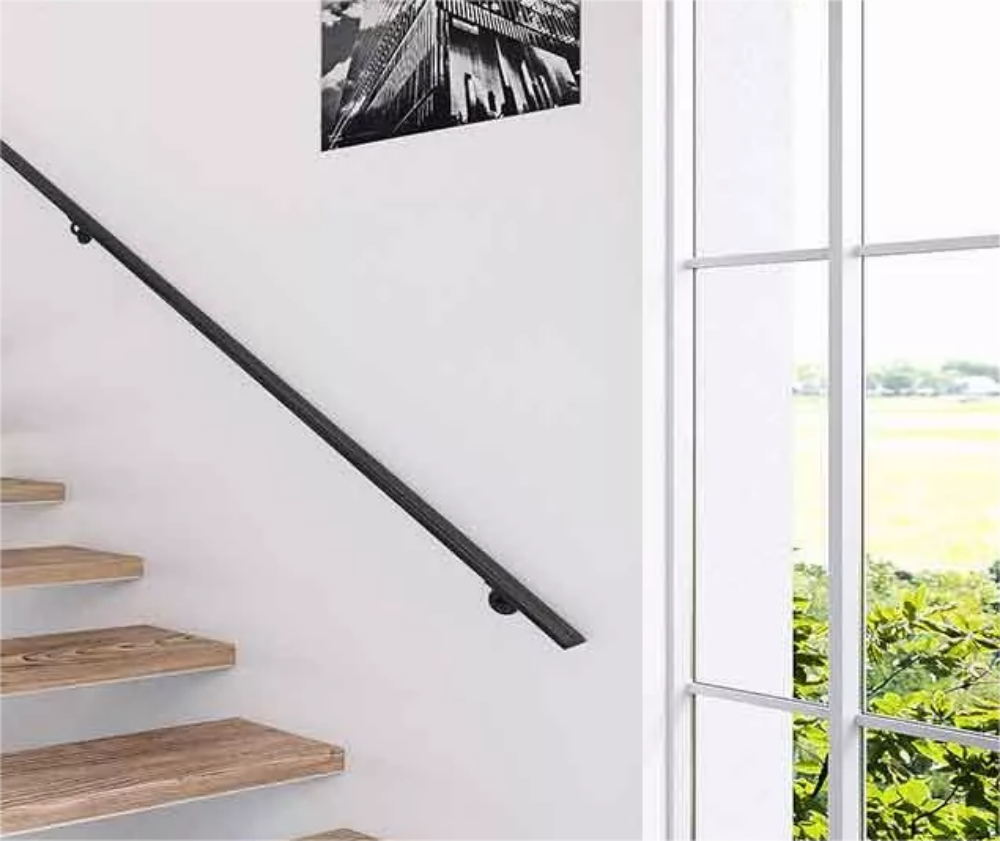
How to Fix a Handrail to a Plasterboard Wall
Handrails are an essential addition to any home, providing both support and a stylish touch to your interior design. Whether you're looking to add a handrail for safety reasons or simply to enhance the aesthetic of your staircase or hallway, knowing how to fix a handrail to a plasterboard wall is a valuable skill. In this guide, we'll walk you through the process, share some personal anecdotes, and provide helpful tips to ensure your handrail installation goes smoothly.
Understanding Plasterboard Walls
Before we dive into the installation process, it's important to understand what we're dealing with. Plasterboard, also known as drywall, is a common building material used for the interior walls of homes. It's made of gypsum plaster pressed between two thick sheets of paper. While it's lightweight and easy to work with, plasterboard isn't the most robust material, so installing a handrail requires a bit more care and the right tools.
My First Handrail Installation
I remember when I first attempted to install a handrail. I had just moved into a new home with a long, narrow hallway that could have used some extra support. I thought it would be a simple task, but I quickly learned that there's more to it than just screwing a rail into the wall. It took a bit of trial and error, but the end result was worth it. Now, I'm here to share what I've learned so you can avoid the pitfalls I encountered.
Gathering the Right Tools and Materials
To fix a handrail to a plasterboard wall, you'll need a few essential tools and materials. Here's what you'll need:
- Handrail (wooden or metal, depending on your preference)
- Wall plugs suitable for plasterboard
- Screws (use screws that are long enough to go through the handrail and into the wall stud behind the plasterboard)
- Drill with masonry or wall drill bits
- Level
- Tape measure
- Pencil
- Hammer
- Spirit level
Preparing the Wall and Handrail
Before you start drilling, it's important to prepare both the wall and the handrail. Measure and mark the spots where you want the handrail to be mounted. Use a level to ensure that the marks are straight and even. This is crucial for a professional-looking finish.
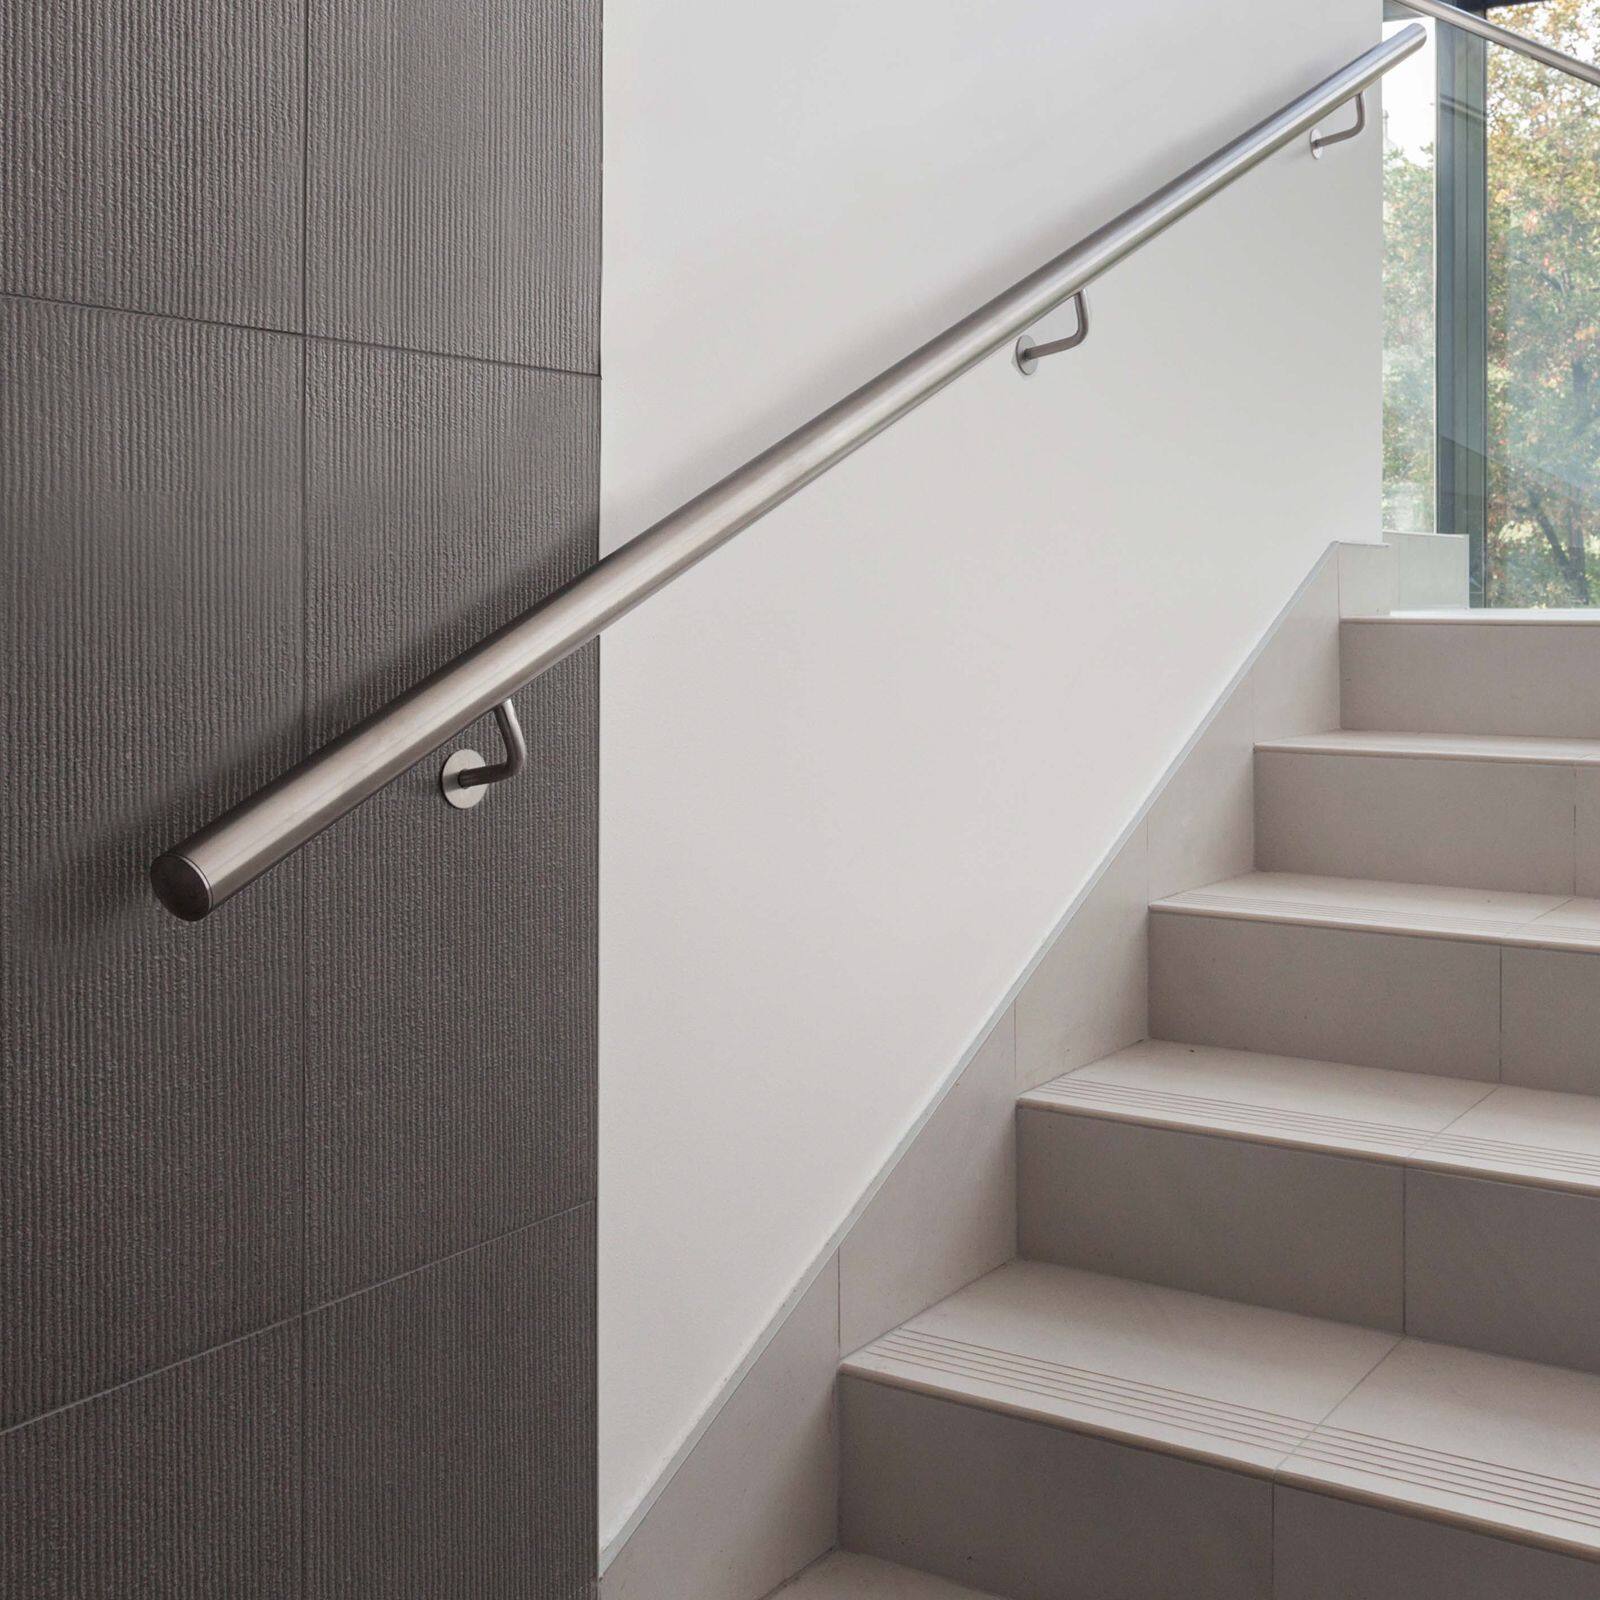
Installing Wall Plugs
Plasterboard walls can be delicate, so using wall plugs is essential. These plugs provide extra support and help to spread the load of the handrail, preventing the screws from pulling out over time.
- Drill the Pilot Holes: Using a drill with a masonry bit, drill a hole into the plasterboard where you've marked. The hole should be slightly smaller than the diameter of the wall plugs.
- Insert the Wall Plugs: Push the wall plugs into the holes you've just drilled. They should fit snugly.
Attaching the Handrail
Now that your wall is prepared, it's time to attach the handrail. This is where you need to be extra careful to ensure the handrail is secure and level.
- Hold the Handrail in Place: Position the handrail against the wall, aligning it with the marks you made earlier. Make sure it's level using a spirit level.
- Mark the Plug Positions: Through the holes in the handrail, mark the positions of the wall plugs onto the handrail.
- Drill the Handrail: Drill pilot holes through these marks and into the wall plugs. Make sure the holes are the correct size for your screws.
- Screw the Handrail to the Wall: Using a screwdriver or an electric drill, screw the handrail to the wall. Make sure not to overtighten the screws, as this can cause the plasterboard to crack.
Ensuring Stability and Safety
After the handrail is in place, it's important to check its stability. Gently apply pressure to the handrail to ensure it doesn't wobble or feel loose. If it does, you may need to add more wall plugs and screws for additional support.
The Importance of Stability
When I installed my first handrail, I skipped the step of checking its stability, which led to a wobbly handrail that wasn't very reassuring to hold. After realizing my mistake, I added extra support, and the difference was night and day. It's a small step, but it makes a big difference in the overall safety and usability of the handrail.
Finishing Touches and Maintenance
Once you're satisfied with the installation, you can add any finishing touches, such as painting or staining the handrail to match your home's decor. Regularly check your handrail for any signs of wear or loosening, and tighten any screws that may have come loose over time.
Conclusion:
Adding a handrail to a plasterboard wall might seem intimidating at first, but with the right tools and careful planning, it can be done easily. A handrail not only provides support but also enhances the look of your home. Whether you enjoy DIY projects or simply want to make your home safer, installing a handrail on a plasterboard wall is a practical task. Remember to be patient, precise, and use the correct materials like wall plugs and screws made for plasterboard for a successful installation.