Email format error
Email cannot be empty
Email already exists
6-20 characters(letters plus numbers only)
The password is inconsistent
Email format error
Email cannot be empty
Email does not exist
6-20 characters(letters plus numbers only)
The password is inconsistent

News

How to Install a Handrail on a Plaster Wall
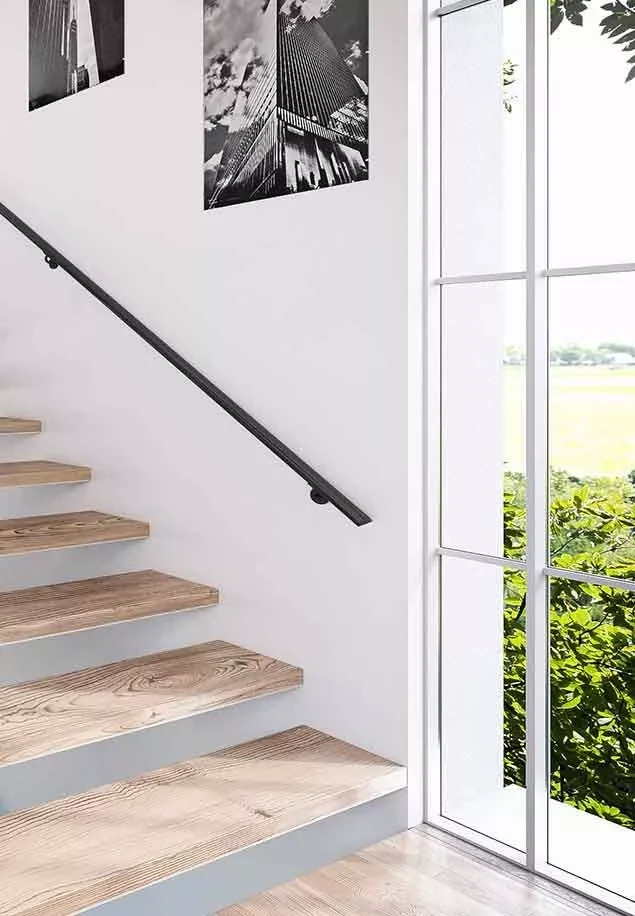
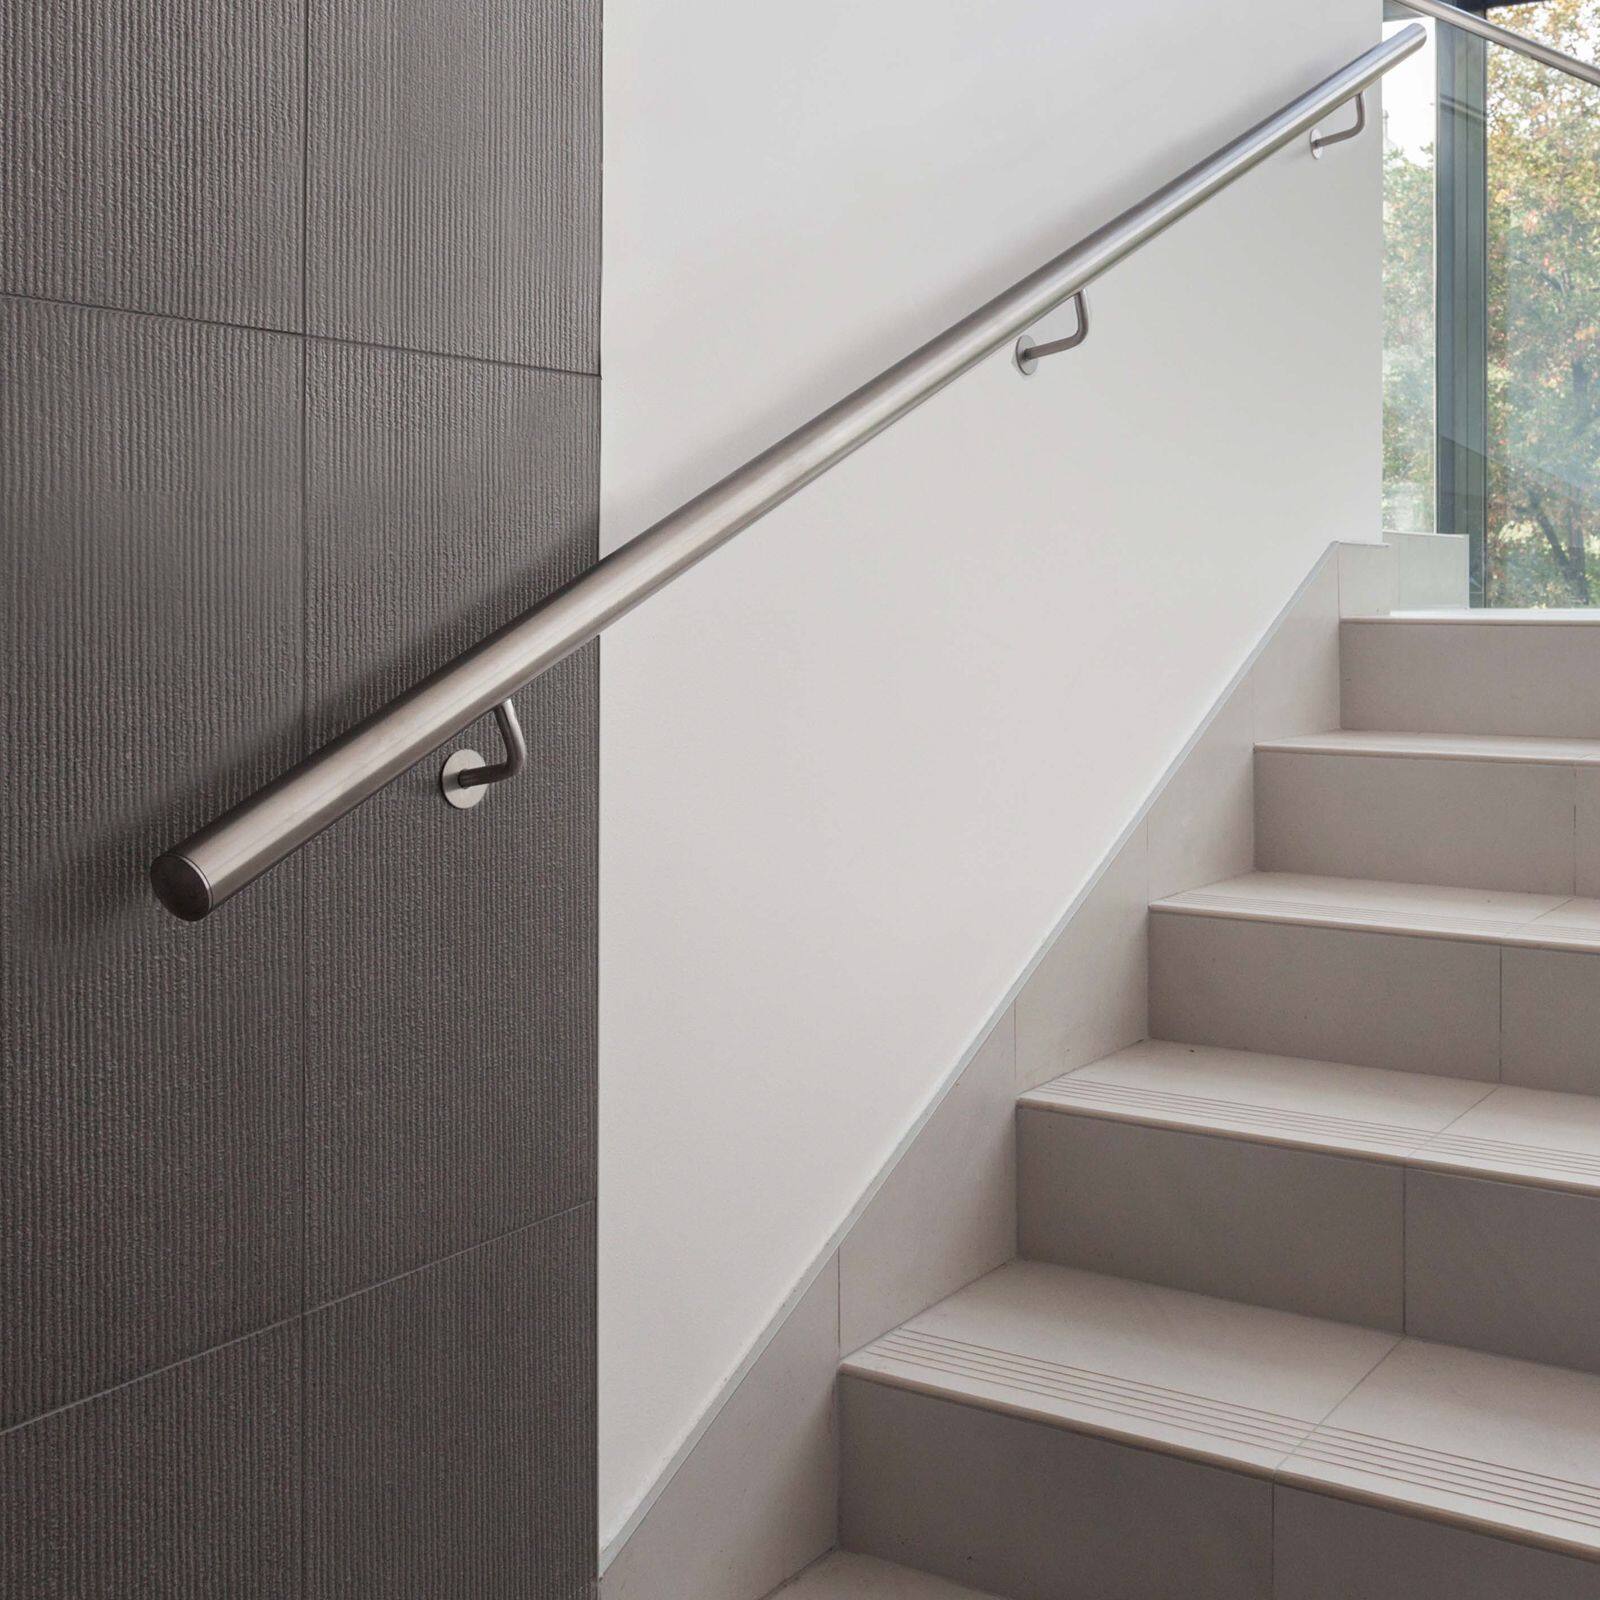
When it comes to home improvement, safety and style often go hand in hand. One such enhancement that strikes the perfect balance between these two is the installation of a handrail. Whether you're looking to add a touch of elegance to your staircase or ensure the safety of your family, especially the elderly and children, a handrail on a plaster wall is a practical and stylish solution.
This blog will guide you through the process, highlighting the importance of this addition and providing a step-by-step approach to ensure a secure and visually appealing installation.
The Importance of Handrails
In the realm of home safety, handrails are often overlooked, yet they play a crucial role in preventing accidents. They provide support and stability, especially on stairs where slips and falls can lead to serious injuries. Beyond safety, handrails also add a touch of sophistication to your home's interior design. With a variety of materials and styles available, they can complement any decor, from traditional to modern.
Understanding Your Wall: The Plaster Challenge
Installing a handrail on a plaster wall presents unique challenges due to the wall's composition. Plaster is not as rigid as wood or metal, which means special care must be taken to ensure the handrail is securely fastened without causing damage to the wall. This blog will delve into the specifics of working with plaster, providing insights into the best practices for a successful installation.
Tools and Materials: Your Handrail Installation Arsenal
Before you begin, it's essential to gather the right tools and materials. Here's what you'll need for a plaster wall handrail installation:
- Handrail of your choice (wood, metal, or glass)
- Wall brackets compatible with plaster walls
- Drill with masonry bits
- Level to ensure straight installation
- Screwdriver or power driver
- Masonry anchors suitable for plaster
- Pencil and tape measure for marking
- Safety gear (gloves, goggles)
Preparation: The Key to a Smooth Installation
Proper preparation is the key to a successful handrail installation. Begin by measuring the length of the staircase or area where the handrail will be installed. Decide on the height of the handrail, typically between 34 to 38 inches from the step nosing. Mark the positions for the wall brackets, ensuring they are evenly spaced for a balanced support.
Marking and Measuring: Precision is Paramount
Use a pencil to mark the spots where the brackets will be installed. Ensure that these marks are level and aligned to create a straight line for the handrail. The use of a level is crucial at this stage to avoid any unevenness that could compromise the handrail's stability and aesthetics.
Drilling and Fastening: Secure the Brackets
The next step involves drilling holes into the plaster wall for the wall brackets. Use masonry bits suitable for plaster to prevent damage to the wall. Once the holes are drilled, insert the masonry anchors and secure the brackets using the appropriate screws. Ensure that each bracket is firmly fastened to support the weight of the handrail and any additional stress during use.
Installing the Handrail: A Perfect Fit
With the brackets in place, it's time to install the handrail. Align the handrail with the brackets, ensuring it sits securely in place. Use a screwdriver or power driver to fasten the handrail to the brackets. Check once more with a level to confirm that the handrail is straight and properly aligned.
Finishing Touches: A Handrail to Be Proud Of
After the handrail is securely installed, it's time for the finishing touches. Fill any holes or gaps with appropriate filler, and sand the area smooth. Apply paint or finish to match the rest of the wall or handrail, ensuring a seamless and professional appearance.
Maintenance and Safety Checks: Ensuring Longevity
Regular maintenance and safety checks are essential to ensure the longevity and safety of your handrail. Check for any loose screws or signs of wear, and tighten or replace as necessary. Regularly inspect the handrail for any signs of damage or instability.
Conclusion: A Handrail for Safety and Style
Installing a handrail on a plaster wall is more than just a home improvement project; it's an investment in safety and style. By following the steps outlined in this blog, you can confidently add a functional and elegant handrail to your home, enhancing both its aesthetic appeal and the well-being of its occupants.
In this blog, we've explored the process of installing a handrail on a plaster wall, from understanding the unique challenges of plaster to the tools and techniques required for a secure and stylish installation. With attention to detail and a commitment to safety, your new handrail will be a welcome addition to your home for years to come.

